Hello, I'm SilentKat and let me break down the assumptions and goals of this here thing:
- You are using a Windows OS (aka Windows 10, 7, 8.1, Vista)
- You want to program a game
- You're choosing python to program that game
- You're willing to use the pygame library to do a lot of the heavy-lifting
- You want to make an executable of your code that runs on any Windows machine
If any of these assumptions are wrong this probably isn't the thing for you. I am, however, willing to do an Ubuntu version of this (and the executable in that case will be a binary playable on Linux systems). Let me know if you're interested in that and I can make that a priority. As I do not currently have access to Mac OS stuff, I am currently unable to make any such tutorial for that OS.
Further assumptions:
- You want to setup your environment without using the command-line
- You do not have python already installed
- You want to program in the Wing Personal IDE
If any of these assumptions are wrong, it's not necessarily a deal breaker. If you want to use the command-line, it should be pretty clear what commands to use instead of running the given scripts.
If you already have python installed, and that python is not 3.4 32-bit, then I highly recommend installing python 3.4 32-bit for maximum compatibility purposes. Also, to avoid some issues, make sure when you install python 3.4 that it's the "default" python (click the button that says add it to your PATH when installing).
If, at any point during this setup you hit a snag I don't mention, bring it to my attention and I will help figure out the problem and update this thing. I've hit plenty of snags doing this myself and helping one specific other person. Probably lots of gotchas for this.
Steps:
- Install 32-bit Python 3.4.4
- Note: Remember to click on the box to add Python to your path
- Install Wing Personal IDE
- (Windows 10 Only) Download the necessary DLLs for backwards compatiblity with older versions of Windows
- Setup virtualenv_without_cmdline
- Setup pygame_skeleton
Install 32-bit Python 3.4.4
Why 3.4.4? Python 3 has made lots of progress and is a worthwhile pick over the standard Python 2.7. However, the library we'll be using to make an executable out of our game code (PyInstaller) has currently (as of June 6th, 2017) unresolved issues limiting our executable options.
Why 32-bit? So that our executable generator (again, PyInstaller) creates a 32-bit executable that will run on 32-bit systems. It'll also make our generated executable smaller.
So, with that being explained, download the Windows x86 MSI installer for Python 3.4.4 (from the main python site) and install python.
Install Wing Personal IDE
Why Wing Personal IDE?
No reason. This setup should work with any IDE or lack thereof. I am simply playing with the IDE right now and think it's perfectly serviceable for our purposes.
Other worthwhile alternatives:
- Spyder
- Eclipse
- IPython Notebook
- Powershell and editor of choice
- Vim
- Emacs
- VSCode
- Atom
- Sublime Text
You do you.
Wing Personal IDE download link.
Windows 10 Backwards Compatibility
Why?
Windows 10 does voodoo black magic to pretend it has libraries older Windows versions have when really it consolidated all of them into a single library.
Or something.
In any case, this will confuse the picky PyInstaller library we're using and it won't bundle the right libraries into our executable and then that executable will fail to run on Windows systems that don't already have the necessary DLL libraries.
So, how do we get those DLLs? Well, there's a large (over 2 gigs) Windows SDK that provides them or you can download just the necessary files (2KB) here.
virtualenv_without_cmdline
Why virtualenv?
Python has a lot of options out there. There's various active versions of python, and various popular third-party libraries to further extend the language. Different projects have different needs and those needs may conflict with one another. A third-party library may only work properly on specific versions of python (cough PyInstaller cough). So we're going to put our game's various dependencies in one place so that if we want to work on another project, we don't have to worry about stuff we downloaded for this project making things difficult for any other project.
Why these scripts to do virtualenv?
Virtualenv kinda expects the user to run from the commandline. If you've never used the commandline before, this can be daunting and error prone so let's just avoid it and virtualenv via python scripts, which if you don't already know how to do, you'll have to learn if you plan on programming in python.
Note: I fully recommend learning command line. After the learning curve, it is quite powerful. But that's just me, you do you.
Once you've downloaded the zip from that github link given earlier, unzip it somewhere you're willing to put a decent amount of data (the virtualenv_without_cmdline is where we'll be putting our virtualenv, which are basically self-contained python installations).
Then, create a project in Wing IDE and save it to the virtualenv_without_cmdline directory. Then add that directories files to the project.
Open and run the "update_pip.py" file. Python 3.4 is fairly old by now, and the pip that comes with it is also old and can/should be updated.
Open and run the "pip_install_virtualenv.py" file. This will install the virtualenv library on the main python 3.4 area.
Open the "create_virtualenv.py" file. If you don't want your virtualenv to be called "default", change the single occurance of the word "default" in this file to whatever you do want the virtualenv to be called.
If all goes well, you should now have a directory called "default" in virtualenv_without_cmdline.
If you don't want your virtualenv called "default" or whatever you named it. In it there is a directory called Scripts and in that directory there is a python.exe. This is the python.exe you will be pointing at for your pygame project.
pygame_skeleton
Download pygame_skeleton from the link above.
Create a new project in Wing IDE. Point this project's python at the python in your virtualenv directory.
Sanity check: if you have more than one version of python installed something may have gone wrong. Or, if you're like me, something magically went wrong because that's just what happens to you. In either case, Wing IDE will have opened a python shell using the exe you just fed it in that lower-middle window. It should say "Python 3.4.4 (32-bit)" somewhere in there. If it says something else or is just not working, something went wrong.
Let me know and we'll figure out what went wrong and fix it.
Sanity check passed? Good.
Save this project to your pygame_skeleton directory. Add the directories files to the project.
Open and run "pip_install.py". This will take a while. You'll notice there's a list defined in this script called "libs_to_install.py". If there's any library you want to install for use in your game, you can add it to this list. Pip will automatically install the latest version if you don't provide a version. If the library isn't present in pip's normal lookup table, you may need to provide pip a link to the library instead of just its name. "git+https://github.com/pyjs/pyjs.git#egg=pyjs", for example, installs pyjs, a python-to-javascript library which will eventually be utilized in an update to the pygame_skeleton project.
After that's done running, you should have all the libraries you need to make a python game in pygame.
Sanity check: restart your python shell. Try the following commands in that shell:
import pygame import PIL
If those commands don't cause errors, you should be good to go. Go ahead and open "hello_world.py" and run it.
You should see a non-interactive window pop up that is identical to the one below.
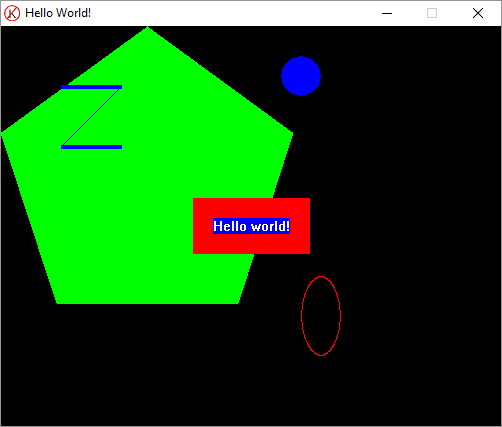
Did the "hello_world.py" game work? Cool.
Now try running "build_exe.py". An exe should now be present in a dist directory within pygame_skeleton.
Should look something like:
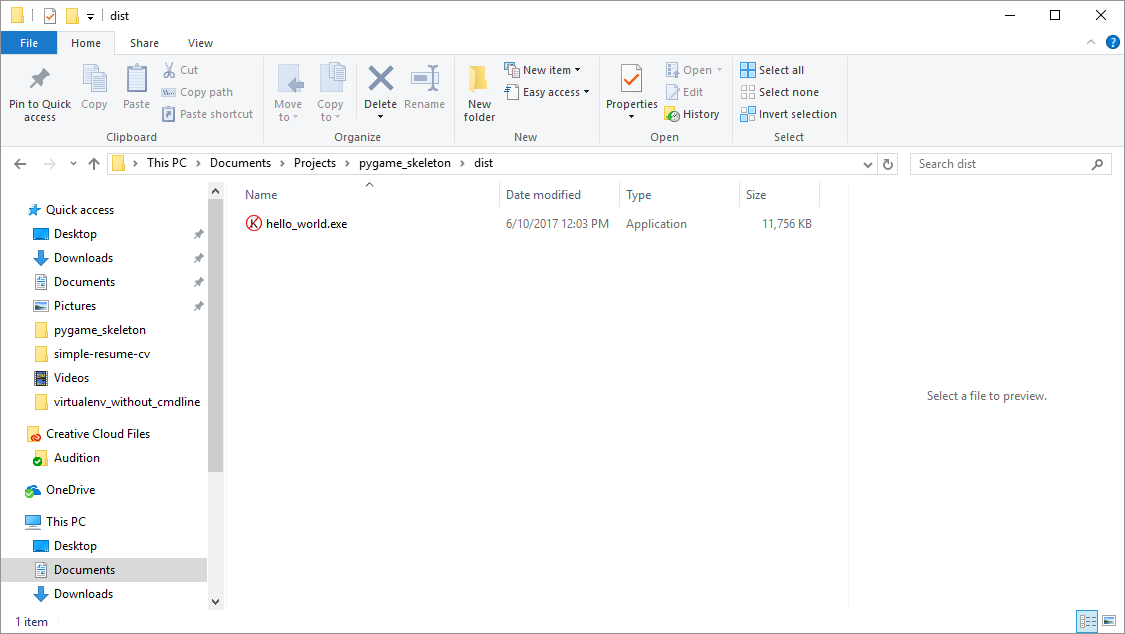
Running this executable should run the same game as hello_world.py.
If everything is working, let's give a tour of all the stuff that's here and how to change the stuff you're going to want to change.
The tour
"hello_world.py" just has some basic pygame stuff in it. Feel free to modify it to get familiar with pygame if necessary. As time goes on, I'd like to add additional examples of how to do things in pygame to this project. You can also just delete this file.
"build_exe.py" builds the exe based on the specifications in the spec file specified in the python script. There are two spec files that come with this project. One builds the "hello_world.py" into a single-file executable and the other into a single directory that contains a game executable.
Point "build_exe.py" to the kind of executable setup you want to create. There's pros and cons to each. Basically, if you want to save stuff between game sessions, you may want to make it a directory, else might as well be a single-file executable. This isn't a strict rule-of-thumb, but good enough for now if you don't know which you want to do.
The main thing you'll want to change in either spec file is what the "main_file" is. Right now, it's "hello_world.py". You'll want to change that to whatever your main python script is that runs the game. Whatever file you run to play your game is the main_file.
You'll notice that the hello_world.exe created has an icon that looks like:
![]()
You'll notice that when you run the game it has the same icon.
These are not the same images.
The image shown in the pygame window is in data/icon.png and the image shown in the exe is data/icon.ico.
Why two icon files?
"ico_from_image.py"
The icon of the executable is set via PyInstaller. The icon in the pygame window is set via pygame code (see "resources.py"). Pygame is particular about its files, and doesn't like the ico files created via the PILLOW library which is what the script "ico_from_image.py" does.
In any case, find/create the image you want to be your game's icon, set is as icon.png in that data directory, and run this script to make an ico version of that image.
This will set all relevant icons as that image.
"resources.py"
Okay, so why is there a resources.py and what is it doing?
There are significant differences in the environment between running your game as a script and running your game as an executable. "resources.py" makes abstracts that away so that you can pretend the environment is the same. Make sure your non-code assets are in the data directory and make sure you grab those assets via the relevant resource methods and things should just work.
Make Your Game
You should have everything you need. There's a lot of stuff not yet covered that I would like to eventually cover, but this should be a decent foundation to get you going.
Happy gaming.
SilentKat
If you have any questions or comments: tweet me @SilentKsionda.